Practicing Sol and Mi (Part 3)
Sol and Mi are the first of many melodic intervals our students will learn with us. In past posts, we’ve looked at:
Finally, we’re on to my favorite phase - the practice phase.
In this step, students use everything they’ve learned so far and apply it consciously to sol and mi. Let's look at three ways to practice this interval.
1. Use Activities from Preparing Sol and Mi
Some of the most natural ways to practice sol and mi are from the preparation post. These activities are natural because students have already done them, but sol and mi were been called something different. Now the only thing to do is keep the same activities, but use the real names for sol and mi.

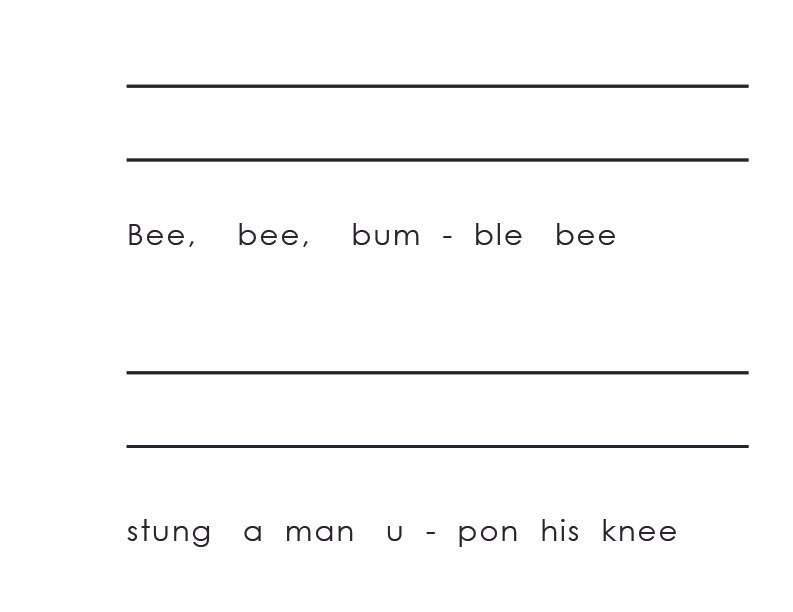
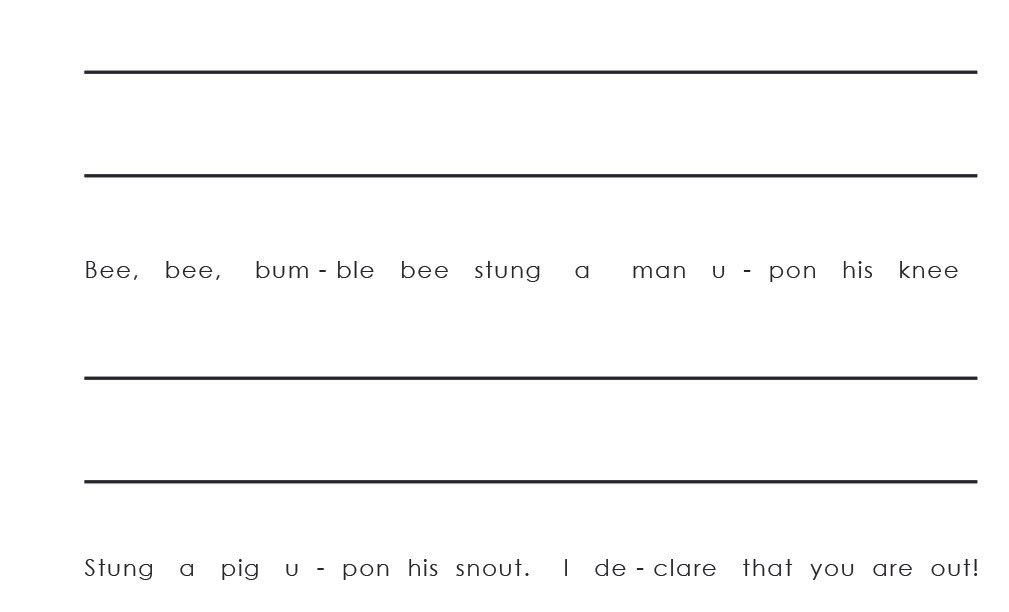


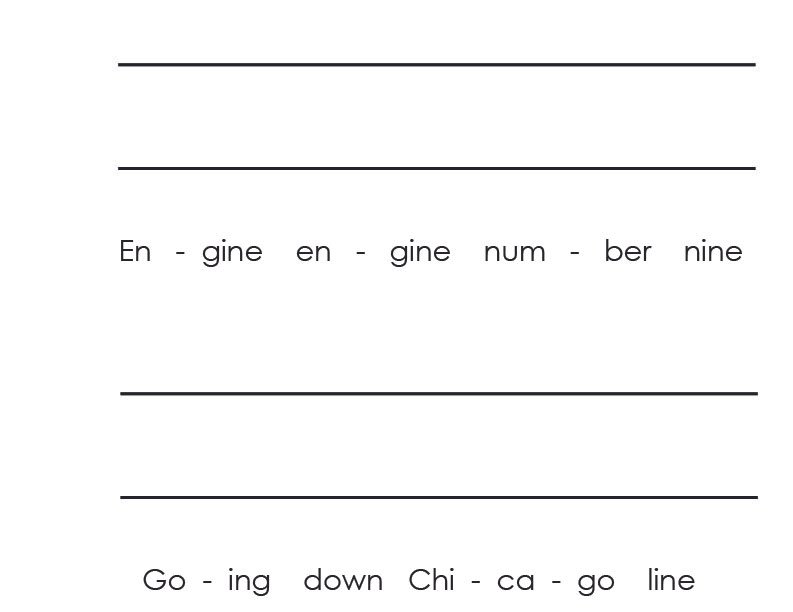
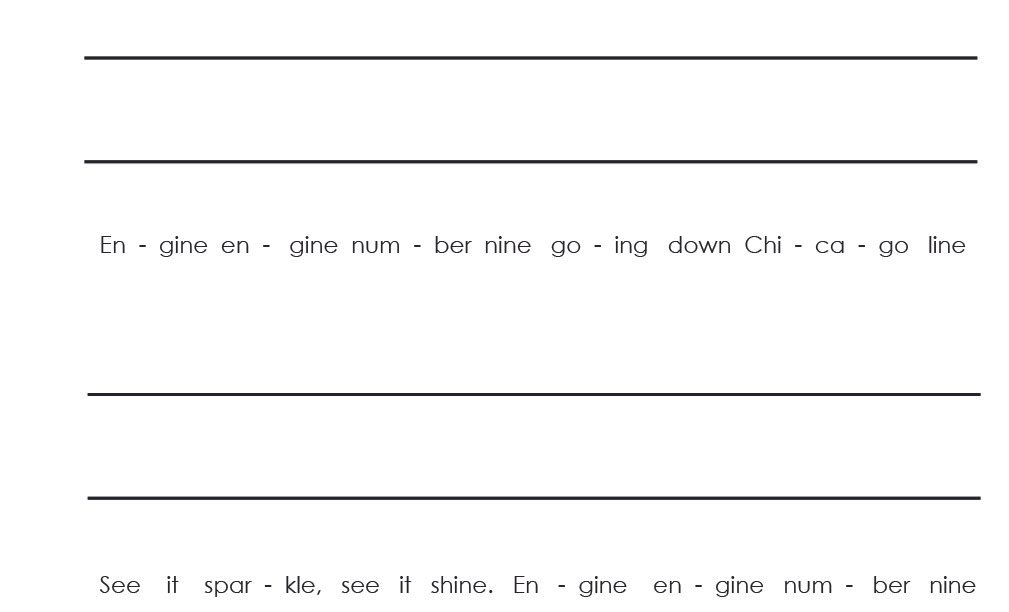
Here are some of my favorite ways to practice sol and mi:
Games (like Apple Tree)
Improvising a Melody
Writing Down the Melody
The case of the missing notes
Read more about these ways to prepare and practice sol and mi here.
2. Dictate the Teacher’s Melody
Dictation is a great way to make sure students know the theory behind an interval. To complete this activity students need to be aware that if sol is on a line, mi is on the line below it. If sol is on a space, mi is on the space below it, and we call that a skip in music.
Manipulatives for dictation:
One great manipulative for dictation is a bag with two pieces of string and a few bingo chips inside. When students get their bag, they lay out the black string to create two parallel lines. When they’re done, everything gets thrown back in the bag and you’re good to go for the next class!
If your students use the full staff to dictate sol and mi, consider laminating a class set of staff paper to use again and again with your bingo chips.
Dictation activities with sol and mi:
There are several forms that dictation can take in the music room. Whatever the dictation activity, I always have the students sing the pattern back to me before they write it down - especially at the beginning. I want to make sure they have aurally deciphered the melody before they dictate it.
Sing and Sign Sol Mi: This is the easiest one. The teacher literally sings and signs the pattern, “sol mi sol sol mi” and students write it down exactly as they heard it. (While it might seem as though you're "giving the answer", this step shows that students understand the basic concept of this interval being a skip apart. If students are confused about what line and space to use, the rest of your dictation activities will go awry.)
Sign Sol Mi: This is similar, but the teacher does not sing. Students need to watch the signs closely to get the pattern.
Hum Sol and Mi: When students have had enough practice with singing and signing, the teacher may change to humming. No words, no hand signs, just the interval. This really challenges students to pay attention to the melodic contour instead of relying on clues like solfege names and signs.
Play Sol and Mi on an instrument: Similar to humming, when a teacher plays sol mi on an instrument there are no words or signs for the students to follow. They just have the melodic interval! It’s possible for a change in timbre to throw students off, so I like to use this one toward the end of our practice.
Students as Teachers:
These activities are great, and students get even more value out of them when they are the ones giving the pattern! Consider handing over your teacher role to a student once they’re comfortable with this way to practice sol and mi.
3. Improvise an Answer
Improvising is one of the best ways I have found to show how a student understands the material. It takes a real understanding of the element to be able to use it on the spot, effortlessly, in an improvisation.
Improvisation is something that can bring adult musicians to tears if they’re not used to it! Students, however, can easily improvise easily, without nervousness, if they have enough structure.
Improvisation activities with sol and mi:
Question and Answer: The teacher asks a “question” and students improvise an answer. I like to have students copy me a few times at first. Then I say, “great! This time, instead of copying me why don’t you make something up!”. Since they’re in a group, this is a non threatening way for students to try out new ideas.
Use text: Some students need extra help to create a new melody. In these cases I like to use text. Sing a very basic question to the student (“What’s your favorite dinner?” “How are you today?”) and allow him or her to sing back an answer. One danger I’ve found in this approach is that students may sneak “la” into the response. The first time it happens, I wouldn’t address it - congratulate the student on responding. The second time it happens, I address it by saying we should only use "high and low" in our response.
With a song: Another very natural way to make something up is through a song. Choose one phrase that students improvise - either vocally or on an instrument - in a song they know well. This can be done as a group first and then as individuals later.
The practice phase is my favorite of the three because I really get to see what students know, and what they can do with all the information of an element. I love watching their process of developing as young musicians and I’m always so proud of the skills they’re developing in the practice stage!
What are your favorite ways to practice sol and mi?

